
With Overwatch 2 going down the free-to-play route, there are plenty of new cosmetic and customization options to check out. One of them is Name Cards, which help to add some flair to your user profile. Here’s how to change your Name Card in Overwatch 2.
Changing Name Cards in Overwatch 2
To change your Name Card, all you have to do is click on the Career Profile option from the main menu, then click on the Customization tab.
From here, click on Name Cards on the left hand side of the screen, and you’ll see all of the Name Cards that you’ve unlocked in the game so far. Just select the Card you want, then press Equip, and you’re all good to go.
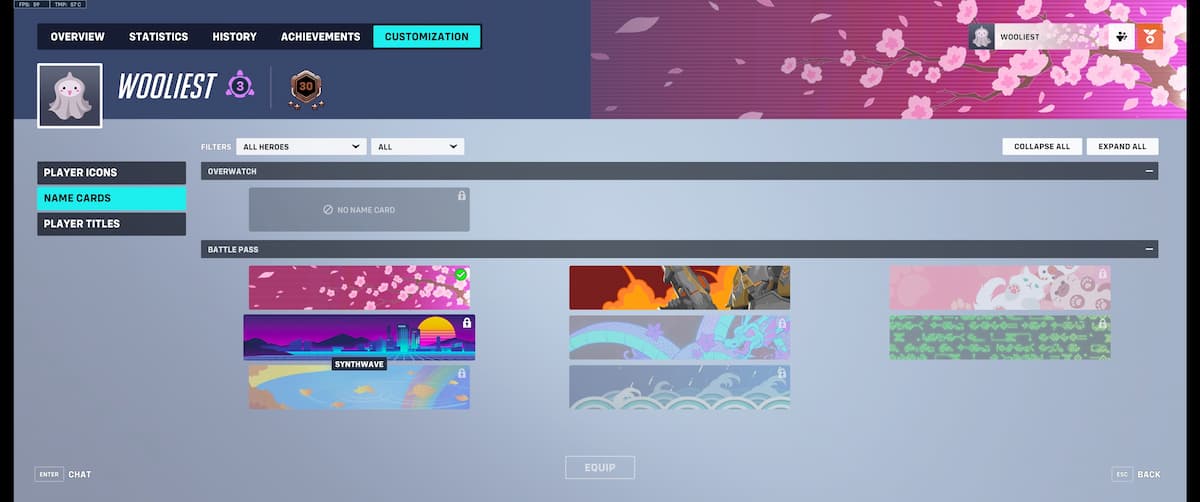
Name Cards are visible in the top right corner of the screen when you’re in the menus, and you also get a nicer look at them when your’re in the Career Profile screen. However, other players won’t see it unless they’re specifically looking at your profile.
How to Get Name Cards in Overwatch 2
Like all other cosmetics in the game, the main way of getting Name Cards is by progressing through the Battle Pass. There are quite a few cute ones to get as you progress, though do note that most of the pretty ones are locked behind the paid track.
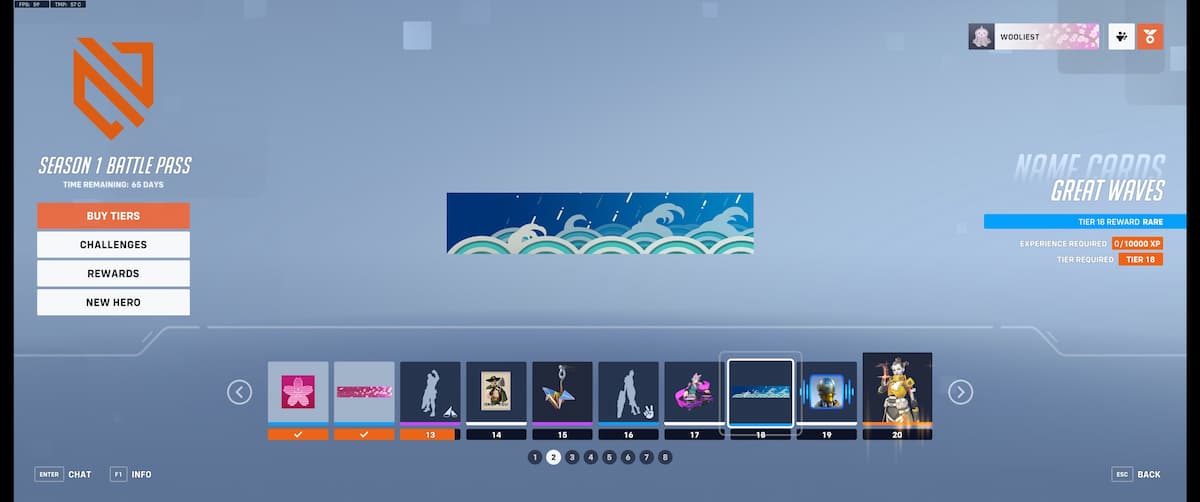
If you see one you like, you may have to shell out real money or 1,000 Overwatch Coins to purchase them. Again, they’re purely cosmetic with no bearing on gameplay, and since you can’t really actively show them off to opponents anyway, they’re probably not even worth buying.
That’s all you need to know about how to change Name Cards in Overwatch 2. Be sure to search for Twinfinite for more tips and information on the game, including our take on the FTUE, whether it has cross-play and progression, as well as our final preview.