
Under Night in Birth II SYS: Celes looked eerily similar to the previous game, Under Night In-Birth Exe:Late[cl-r] when I first sat down with it. The characters all looked and, at a glance, seemed to play the same. That’s not necessarily a bad thing, as Tekken 8 recently showed the fantastic positives that come with being able to carry your skills from the previous games into the new entries. As I dug deeper into this game, I started to see the small tweaks, move changes, and visual details that made this fighter stand out and shine. And it doesn’t hurt that it’s a ton of fun thanks to some interconnected systems that add so much depth to which strike you use next.
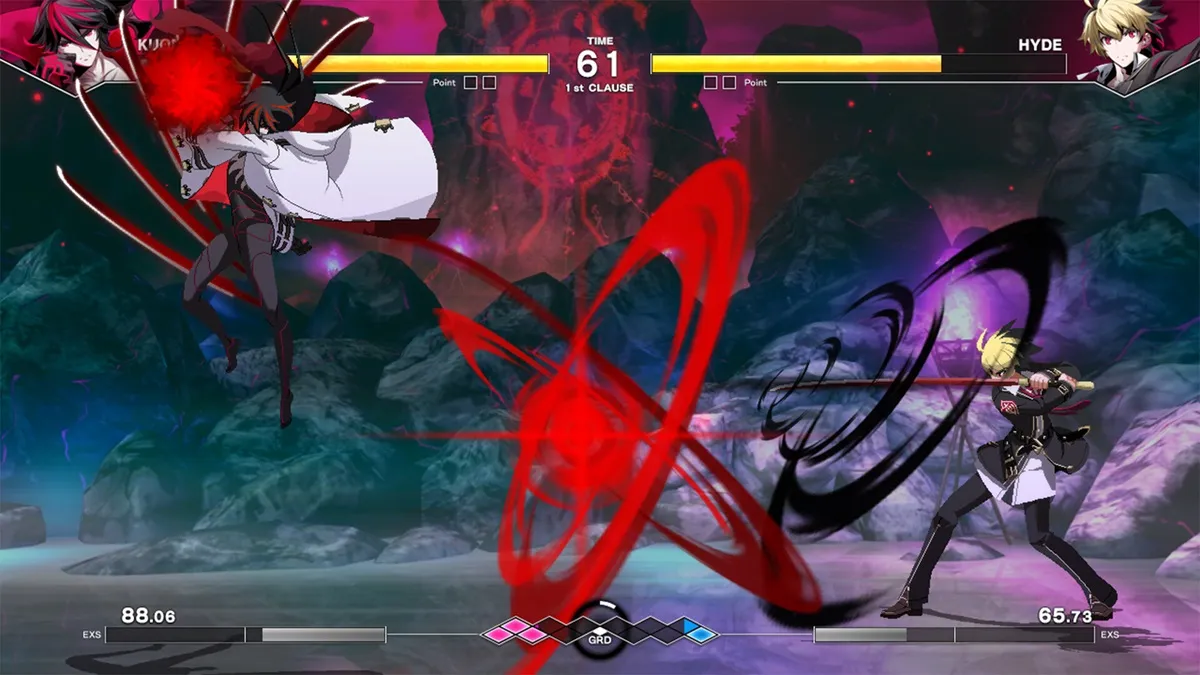
Yes, it all looks deceptively similar to the previous title. That said, it feels like all of the visuals in the game have been sharpened and improved. All of the characters have some visual improvements to the already-impressive attack animations. Attacks seem just a little bit snappier or flashier. It’s the sort of thing that felt like a minor difference, but I felt my enjoyment of the game was a little bit higher. This was also aided by the clean user interface. Something about the fonts, win screens, character portrait appearances, and other fine details of the game’s framework looked really nice. It’s not usually something that jumps right out at me, but it was so good that it really improved the game’s presentation.
If you’re new to the series with Under Night in Birth II SYS: Celes and you like pixel artwork, you’re going to be impressed. I cannot get over how smooth the movement is in this title and its pixel work. I would just watch Merkava, a monstrous humanoid creature, just breathed as it stood there before the match kicked in. A ton of care went into the ways the characters moved in this game, and I found myself watching replays just so I could appreciate the pixel artwork in motion.
That same care went into animating some new attacks. All of the characters have a few new abilities to add to their kit, adding some neat adjustments to what they can do. I was far from being a high level player of the last game, so it’s a bit beyond me to explain how these moves change the characters and how they play, but I know I enjoyed having some new surprises I could bust out. A lot of them could be used with relative ease, too, as the game’s combo-assist-like strikes allow you to string together some easy beatdowns by mashing your light A attack (the game’s buttons are assigned A B C D). Very easy to jump in with and do cool things, but you’ll eventually have to branch out lest you become predictable.
While each character has a good game plan you’ll want to figure out and implement (a lot of which are extremely satisfying to put to work), the GRD system throws a little chaos into the mix in Under Night in Birth II SYS: Celes. The GRD gauge sits in the bottom middle of the screen, and consists of six diamonds on you and your opponent’s side. As you play aggressively and defend well, you will fill your diamonds up with color. Back off or play defensively and those diamonds will drain on your side. Meanwhile, a circle (the TS Gauge) steadily fills as the match progresses. Once it finishes a rotation, whoever have the most filled diamonds gets a 10% buff called a Vorpal state.
However, that’s not all you can use the GRD diamonds for. You can use Force Function to do a special character-specific attack (press B & C) that expends one diamond. If you get ahead on diamonds, you’re free to do some extra cool attacks as your reward for playing consistently and aggressively. You may not want to burn too many of these, though, as you can lose all of your progress to GRD Break, which can happen if you’re thrown or if you try to use a Shield Block (block while holding D) and screw it up. This means people might scramble for throws when you’re building up a stockpile of diamonds, or that your mistakes cost a whole lot more than usual.
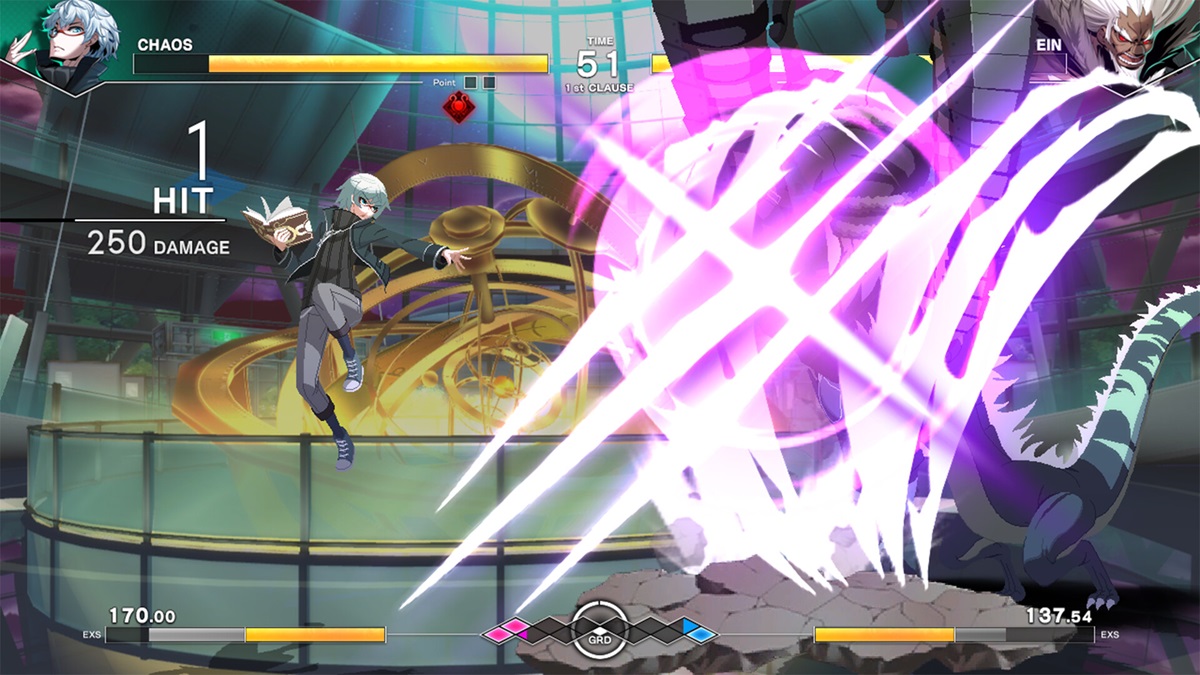
Now, you also have your EXS Gauge, which is what fuels your special moves and your extremely powerful Infinite Worth attacks (Supers) in Under Night in Birth II SYS: Celes. This builds through play, but during Vorpal state, you can also do a Chain Shift to dump your remaining diamonds into fuel for your EXS bar. The EXS bar persists between rounds and GRD doesn’t, so if the match is about to end, you can funnel that into your EXS bar so you can really slam your opponent during the next round.
What I really enjoy about these systems is that they throw extra things to consider into the mix. While you have a game plan you want to execute, you’ll need to pay attention to the GRD Gauge as you execute it. Did you have to backdash to escape something your foe was doing, and now the TS Gauge is almost finished its rotation? Better do a throw to nullify the opponent’s GRD advantage before that circle is complete. If you have a bunch of diamonds left and you’re in Vorpal state, should you dump those into your EXS bar early so that you have an advantage next round (or just to funnel into an Infinite Worth), or hold onto them this round to keep your current advantage? It made me continually adjust my game plan, resulting in some scramble-y matches (in a game where matches are already pretty wild).
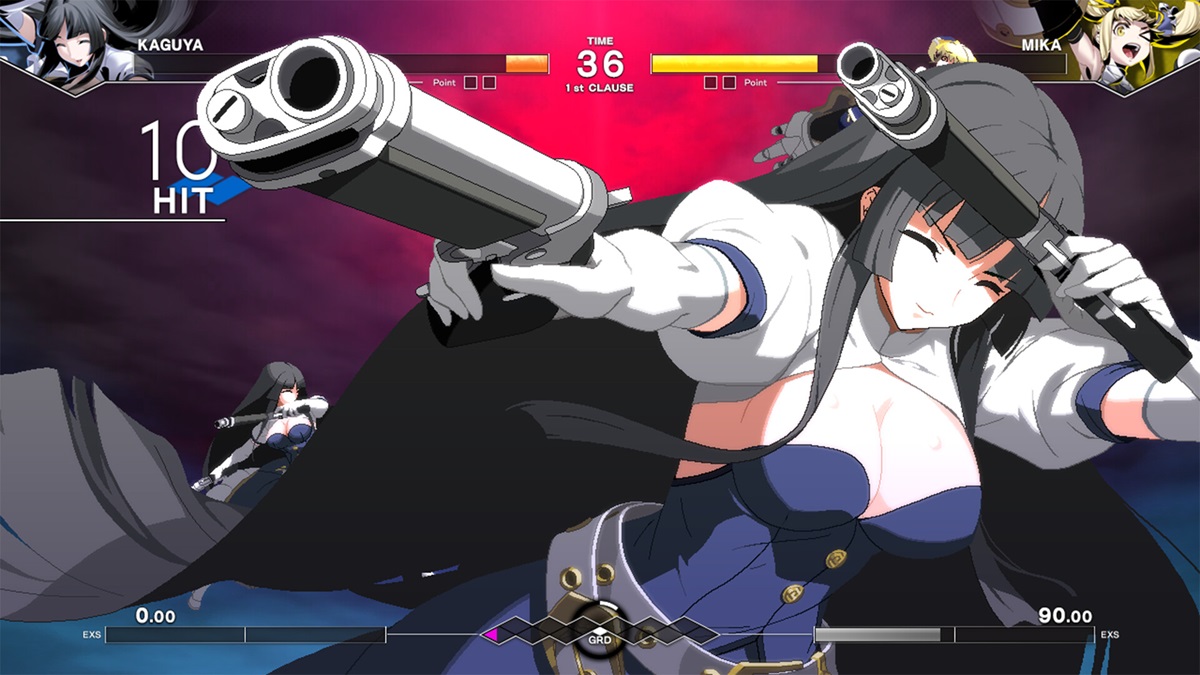
Under Night in Birth II SYS: Celes also lets you add further damage by activating Veil Off, which uses your whole EXS Gauge (you need 100% out of 200% minimum to use it, though) but gives you a 20% boost in damage (and this stacks with the 10% from Vorpal if you wanna go wild). This state lets you string together things that don’t normally work together as it lets you use EXS moves so long as you have a little bit of meter in the EXS Gauge instead of needing a whole bar, allowing for some of your nastiest combos while having a huge damage buff.
So, again, there is much to consider within the general ebb and flow of a match besides your character and what they’re capable of. All of these systems feed into one another in ways that can result in massive damage boosts or huge shifts in momentum (a couple of careful Shield Guards can give an opponent on the ropes enough advantage to get the buffs they need to turn the tide). I found myself constantly weighing options and changing strategies based on the GRD Gauge or the state of my opponent, and it resulted in matches that just felt very involved and interesting.
Under Night in Birth II SYS: Celes has a solid tutorial to teach you all of this stuff, too. It’s a bit intimidating at first as you find yourself looking at a wall of text, but it is all laid out in very careful steps to help you understand the nuances. You can also try many of these moves out right on the spot. I felt it was set up in such a way that it made the complexities make a lot of sense fairly quickly, and it also offers some practice in the more complex elements of fighting games if you want some lessons on creating frame traps or stringing combos together.